Overview
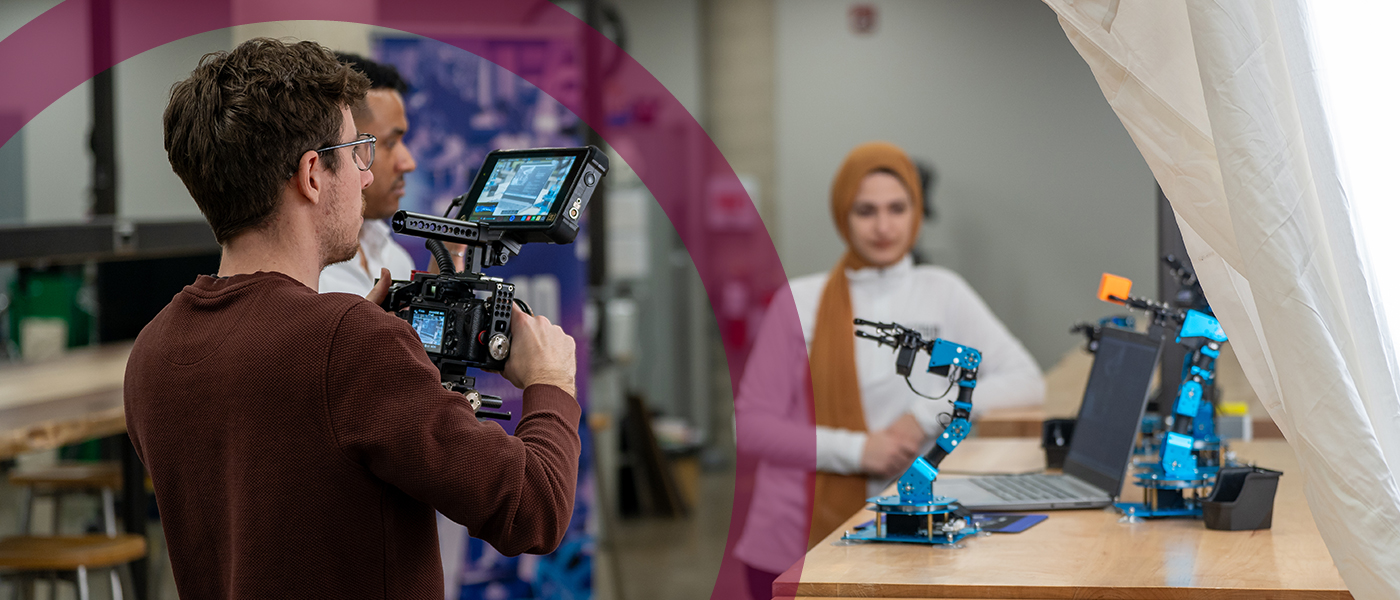
Videos bring the McMaster community to life.
Our videos should accurately and authentically depict the McMaster experience as seen and lived by the people in our community. Whether professionally produced or developed for social media on a smartphone, videography provides us with a dynamic way to engage with our audiences and share the stories of the McMaster community with the world.
Our imagery, both photography and video, must authentically represent McMaster’s diverse identities, including varied races, genders, ages, abilities and cultural backgrounds. Our brand’s visual expression should inspire unity and foster belonging.
In this section, you’ll have access to a project planning guide, social media production tips, brand and accessibility guidelines, and technical tips and tricks.
Information Box Group

Tell compelling stories
People are at the heart of McMaster’s brand. Videos give us the opportunity to tell their stories in a dynamic and engaging way. It also allows our faculty, students and staff from across campus to share their stories from their unique perspectives.
Uniquely McMaster
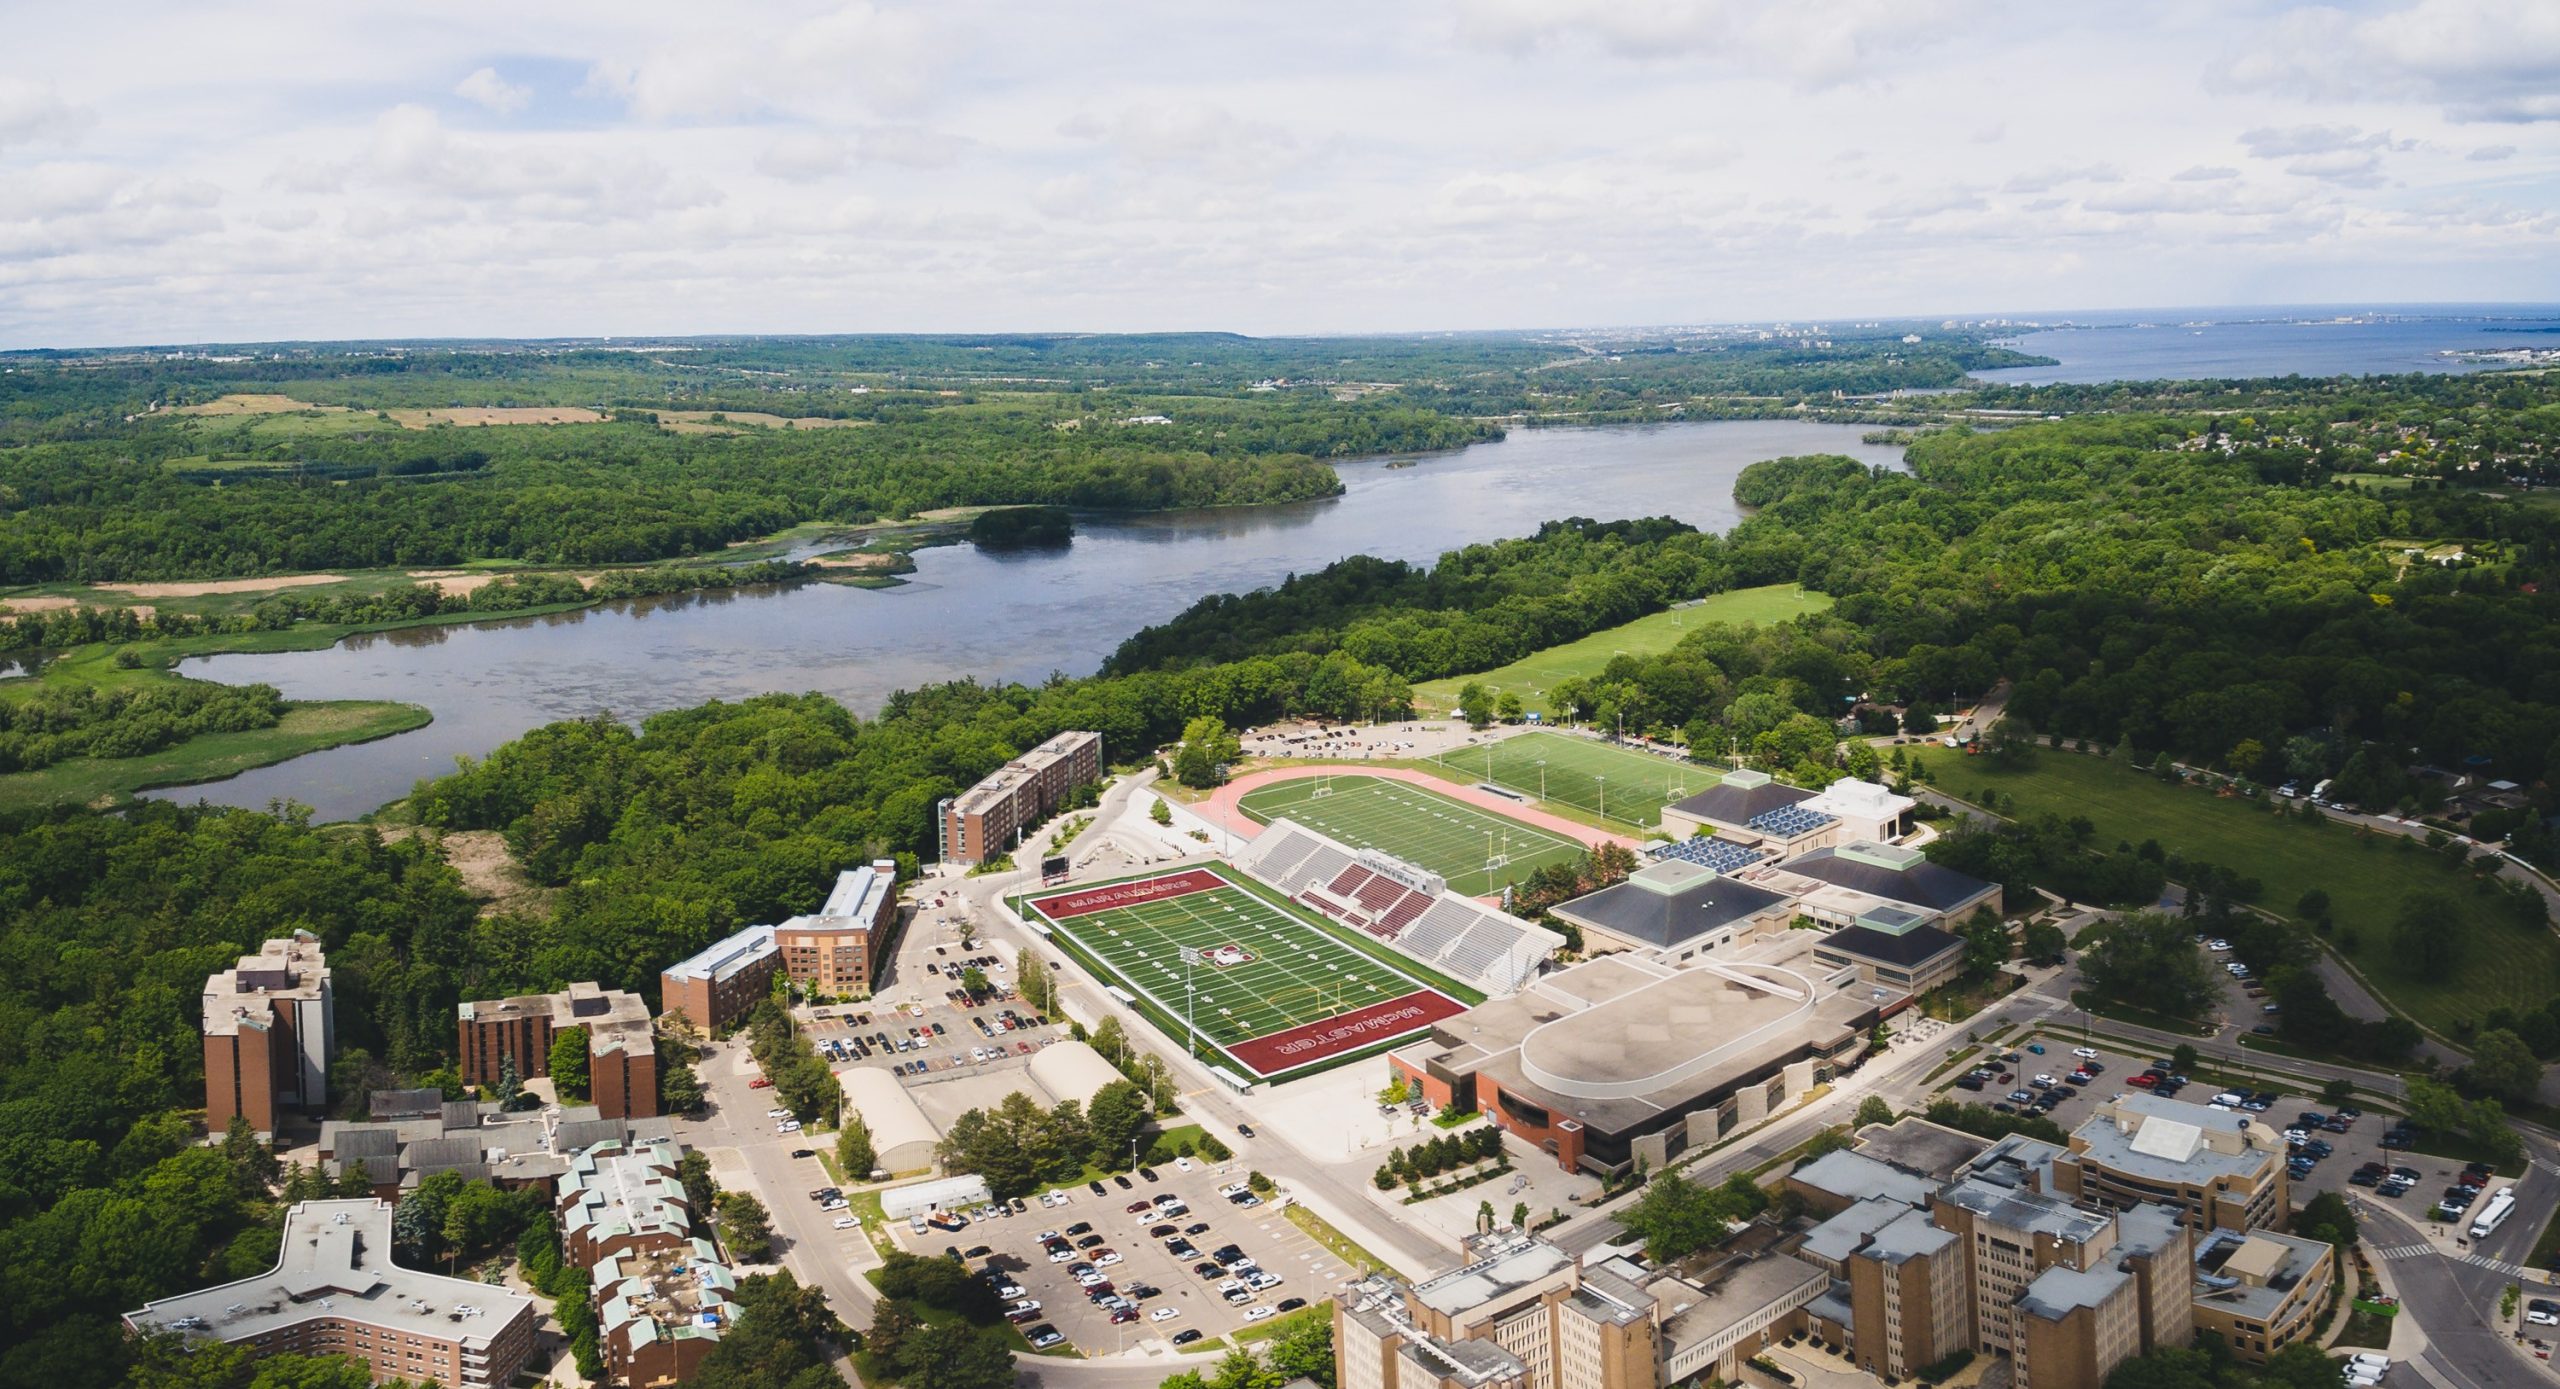
The stories we tell in our videos are unique to the McMaster community. Use McMaster locations, incorporate McMaster branded clothing and add a little pop of maroon to the shot if possible.
Focus on the people
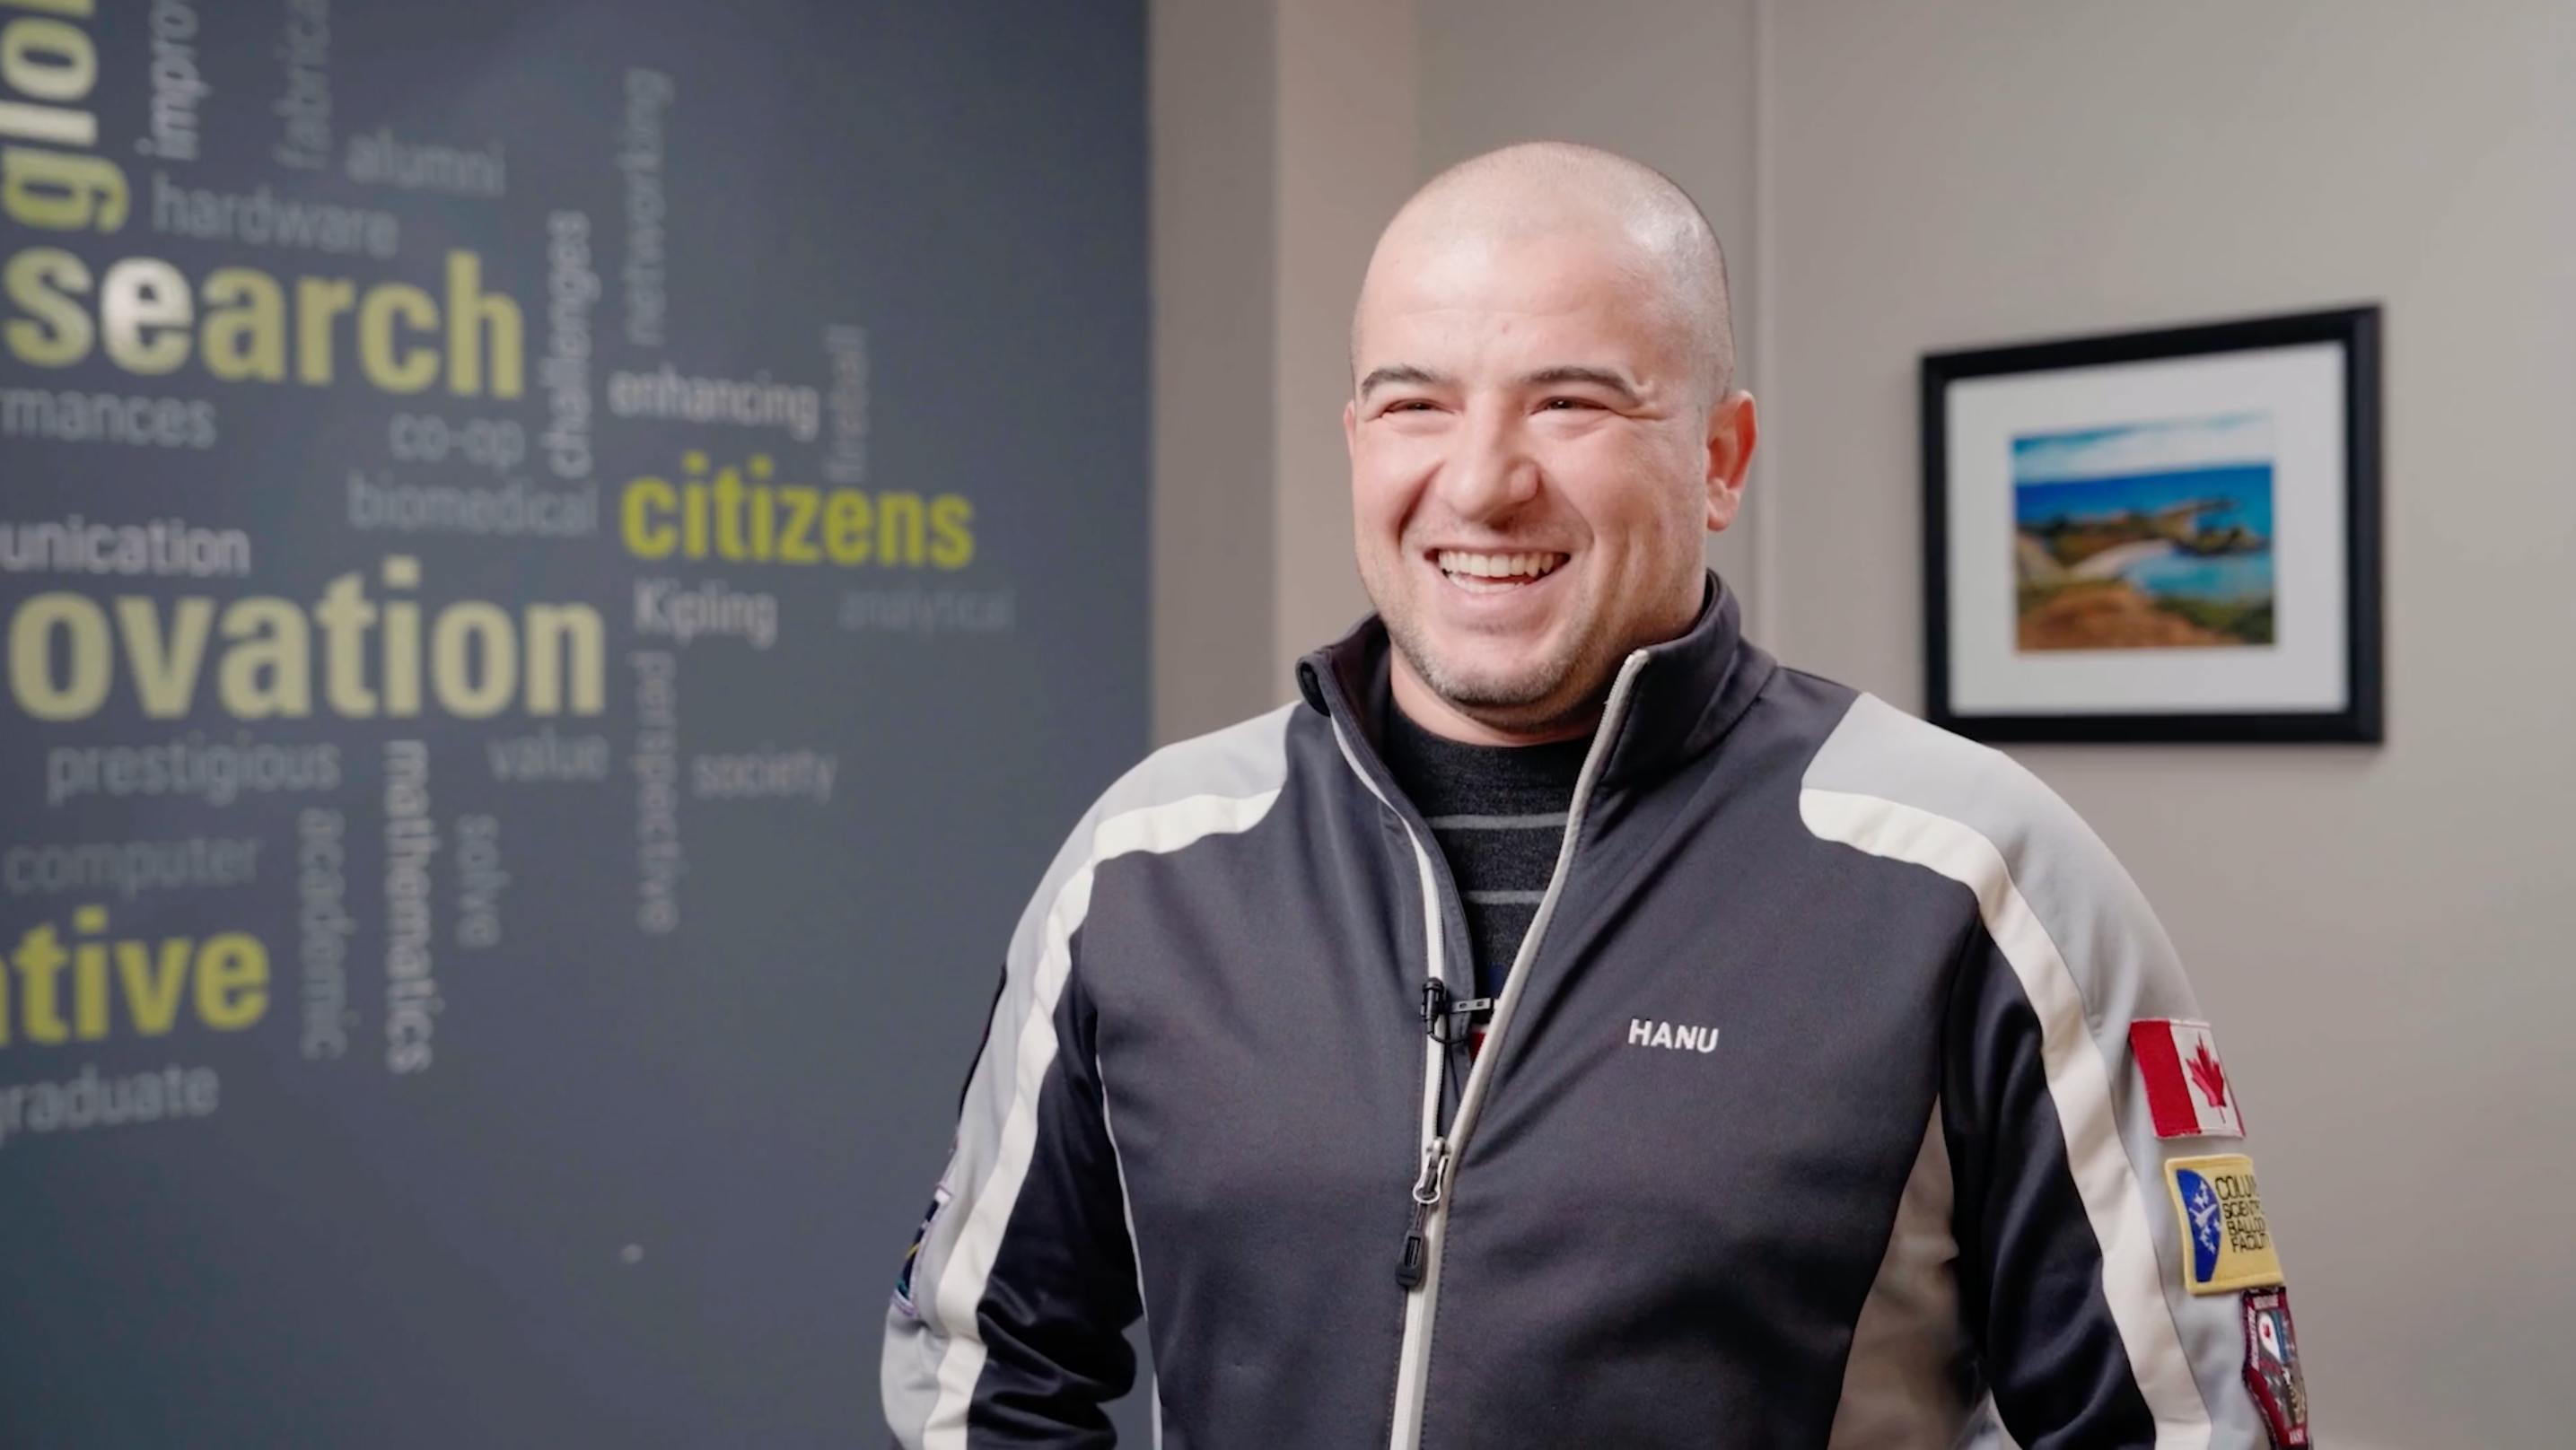
Keep expressive faces in focus and allow the backgrounds and foregrounds to be a little blurry. This is also known as shallow depth of field, and it draws attention to the person we want to highlight.
Project Planning
The key to executing a successful video shoot is proper planning.
Social Media Production
Social media videos should capture the authenticity of the Brighter World brand.
Important considerations
Videos help members of the McMaster community tell their own stories.
Technical Tips
Our videos should all have a consistent, branded feel across all channels.
There’s a lot to know about videography. This section includes detailed technical instructions for professional videographers and editors.
Expandable List
Most digital content adheres to a horizontal 16:9 aspect ratio. However, this may vary depending on the platform. It is crucial to adjust the aspect ratio and resolution to suit the platform where the content will be shared. For example, Instagram Reels use the vertical 9:16 ratio. To facilitate multi-platform editing, we recommend filming content horizontally with a wide enough frame to accommodate vertical cropping for an Instagram video if necessary.

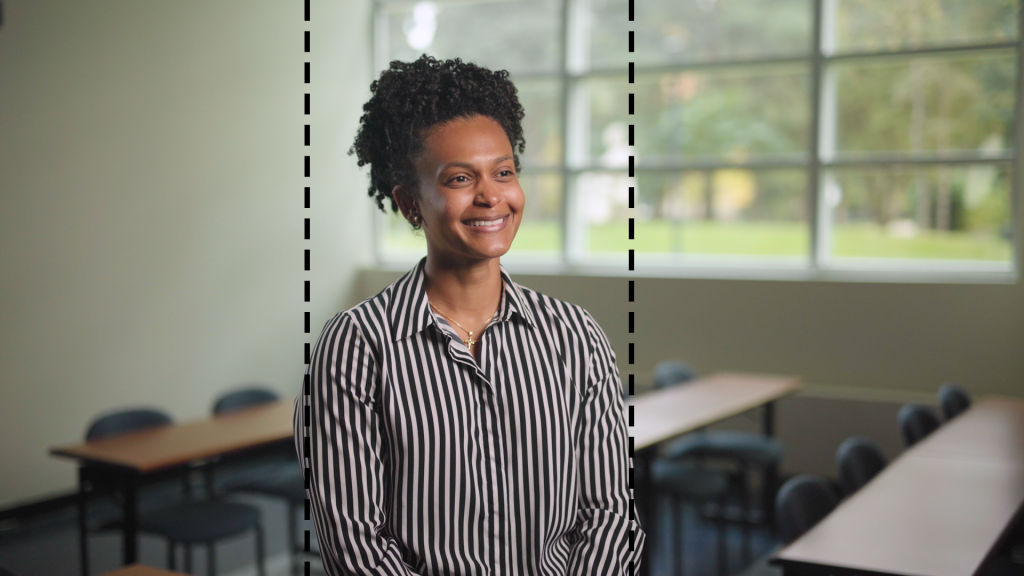
Authenticity is key, so we should try to maintain an authentic representation of real-life scenarios. One way this can be achieved is by avoiding over-stylized colours and white-balancing the footage correctly.
What is shallow depth of field? It is a shooting technique that draws the viewer’s attention to a person that is in focus while everything else is blurry. To achieve this, consider using lenses or smartphone camera effects that can create a shallow depth of field wherever possible, typically aiming for apertures from f/1.4 to f/4. When shooting with wide apertures, it is vital to maintain focus on the people in the video. This may not be possible for all video footage, especially videos for social media.
The use of tripods or gimbals is encouraged to ensure smooth, stable footage. Feel free to include an element of movement in shots, but avoid the shaky, handheld look.
Videographers should always be aware of their shooting environment. Camera settings should be adjusted in response to the environment to ensure the footage captures a proper exposure. It is essential to film your environment in a way that showcases the space in the best light possible. Whenever possible, avoid high-contrast, moody setups, and strive for bright, airy, colourful spaces. The people in the video and their surroundings should be captured to advance the story. Use lighting, ND filters, and lens choice to achieve this.
When setting up the lighting, ensure it is bright enough to achieve a natural look. Similarly, control the light’s power levels, ensuring the background doesn’t appear excessively bright or overly dim. This balance helps establish a good exposure relationship between the subject and background. Enhance existing lighting by positioning your light to complement it. For instance, if there is a window on the right side of the room, set the light on the right side of the person in the video.
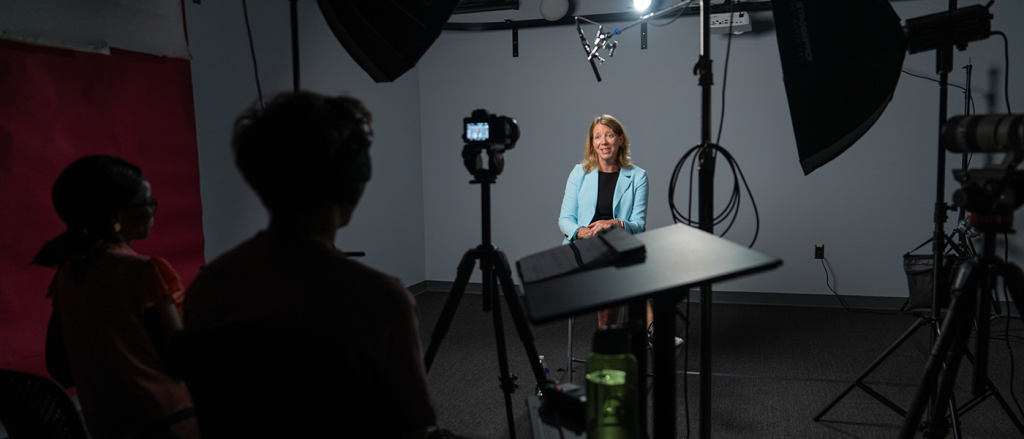
Additionally, avoid lighting units that flash or flicker, as this could make the set inaccessible to individuals who experience seizures.
For optimal audio quality, it’s crucial to position the microphone close to the person, ensuring it is facing them. This placement will provide clear and crisp audio. Additionally, monitor the audio levels carefully, ensuring they do not peak above -5db. Ideally, the audio levels should be maintained between -18db and -10db for the best sound quality.
Always ensure that horizons are level when filming. This seemingly simple aspect brings a professional touch to our videos and significantly enhances the ease of viewing.