Overview
Photography offers a unique window into the heart of McMaster.
Our photography should capture our spirit by prioritizing the principles of authenticity and optimism that guide everything we create. Photos not only offer a compelling snapshot of a moment in time, they strengthen the stories we tell and help us connect with our community.
Our imagery, both photography and video, must authentically reflect McMaster’s diverse community. Our brand’s visual expression should inspire unity and foster belonging.
In this section, you’ll have access to general photography guidelines, technical tips and tricks, a guide to project planning, and best practices for executing a McMaster photoshoot.
Information Box Group
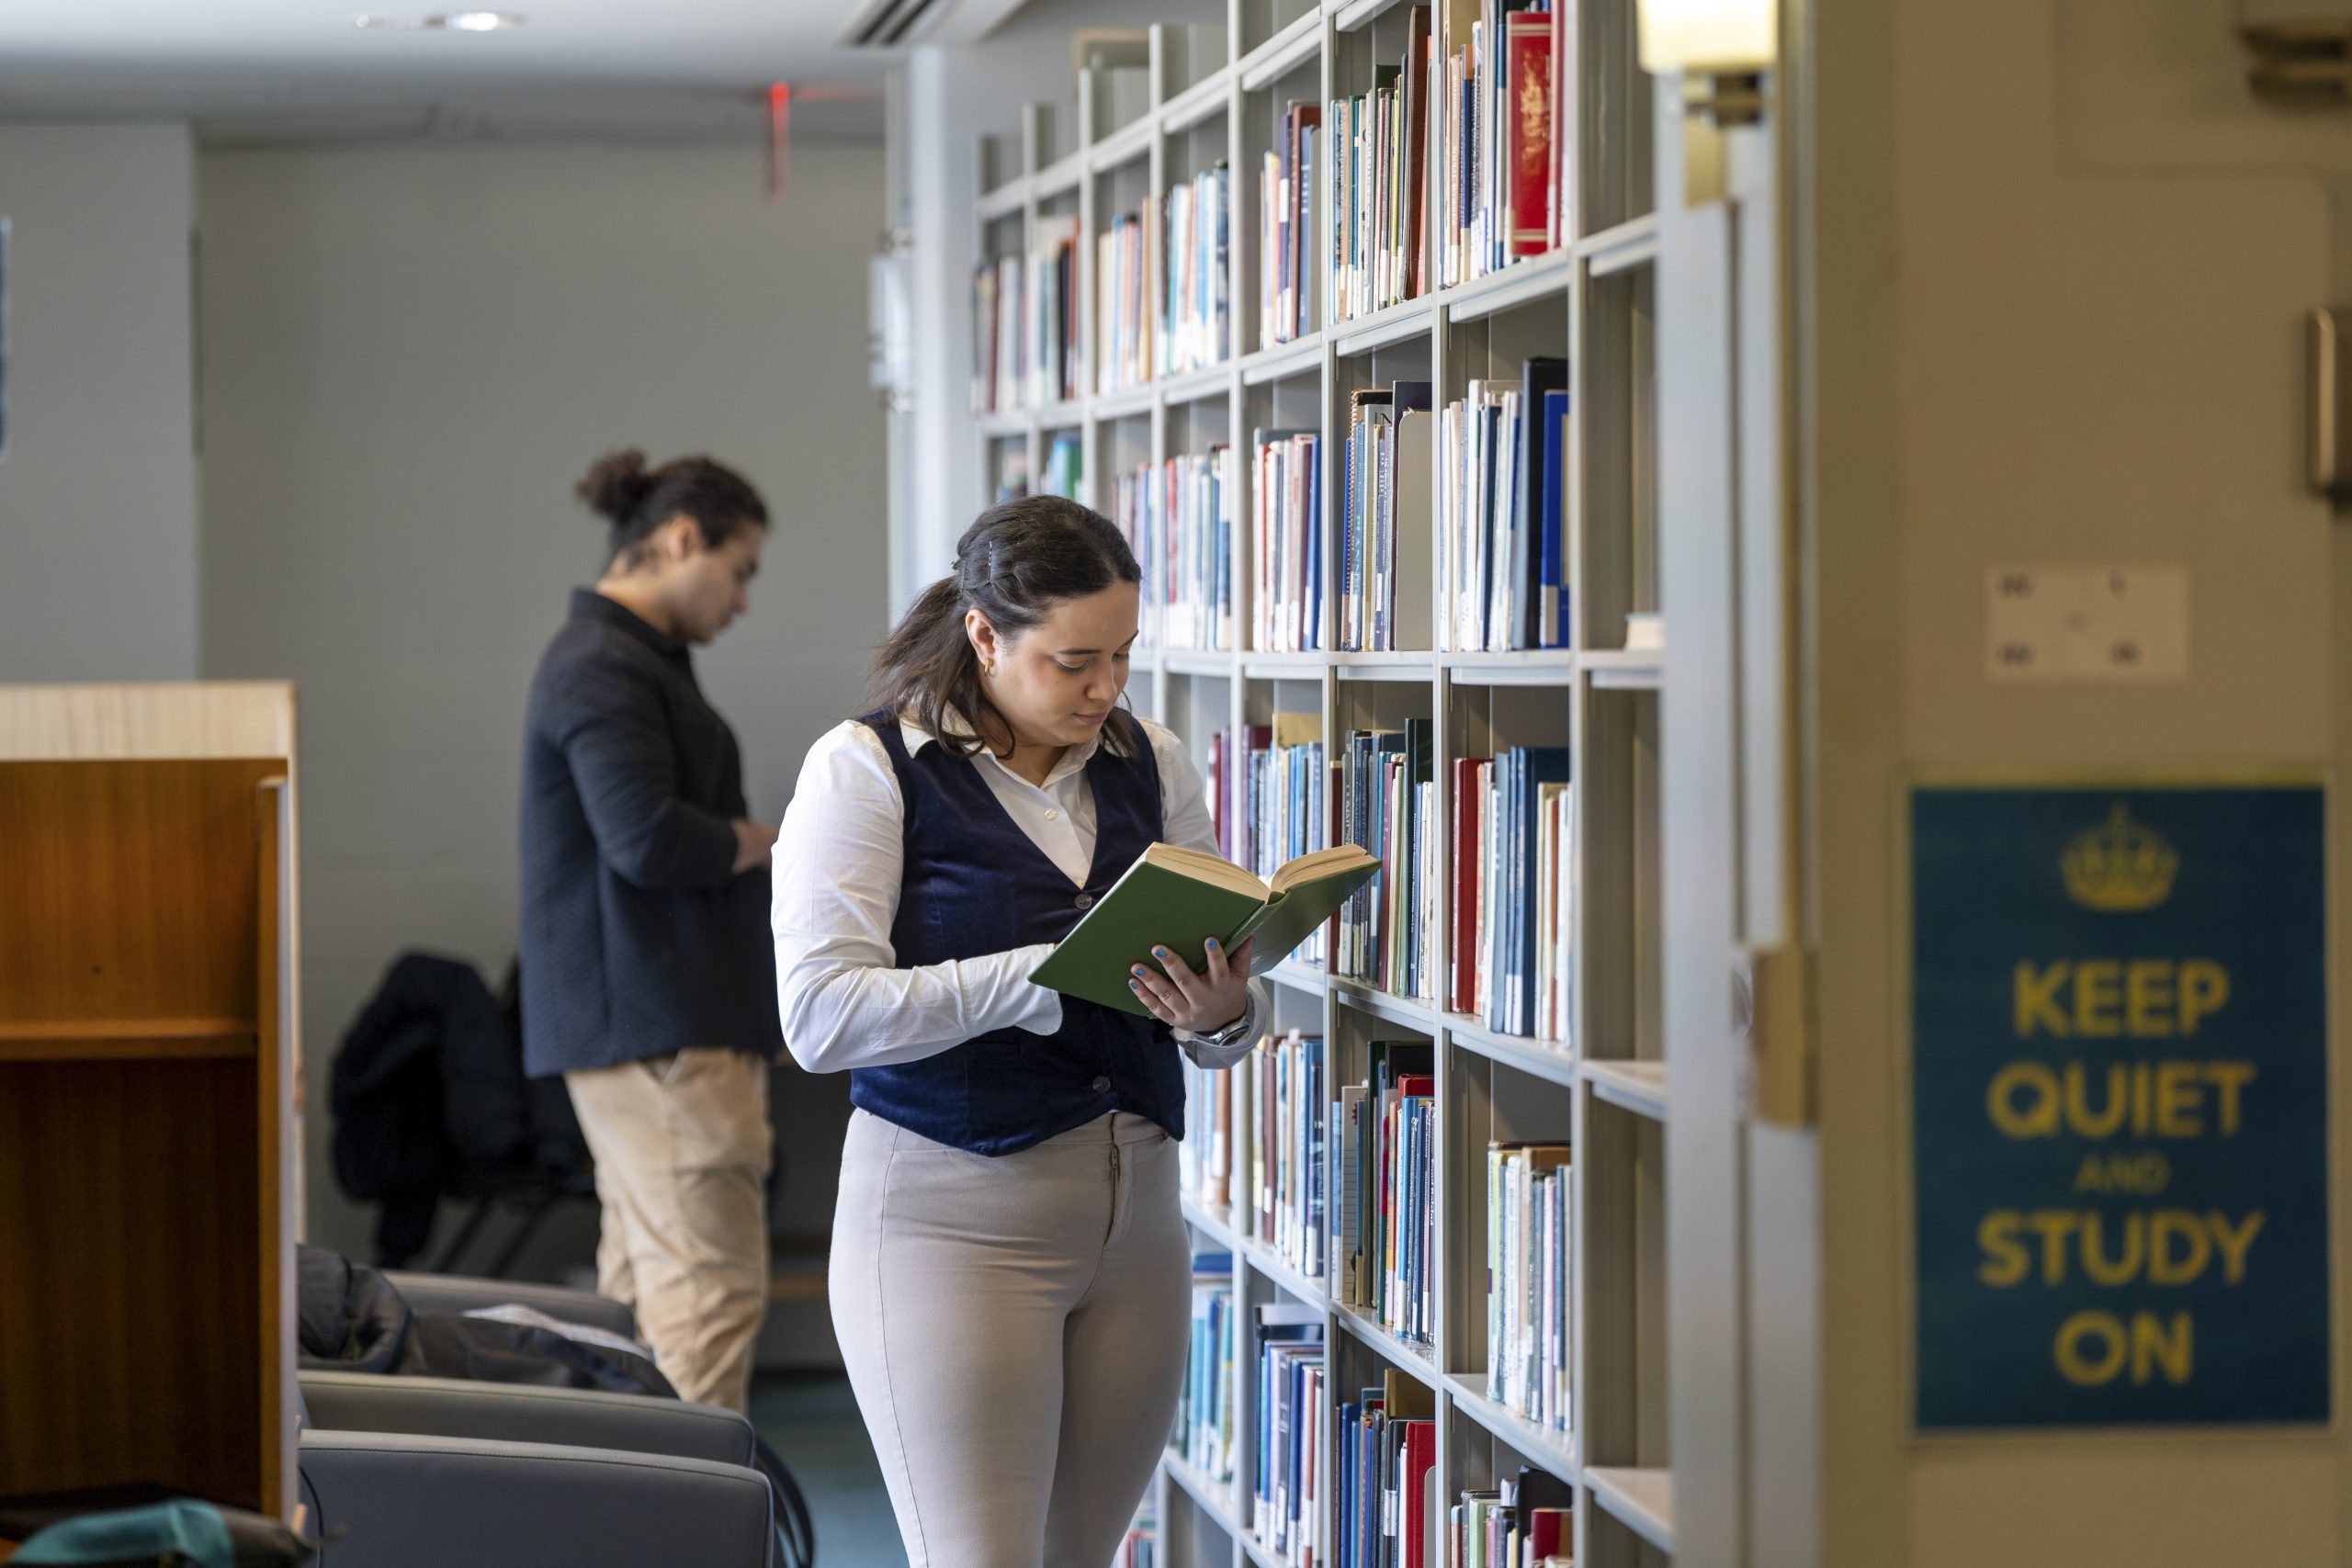
Tell an authentic story
Telling great stories is what we do. To make visual storytelling more compelling, our photos should capture the emotions of the moment and the people experiencing it.

Keep it natural
Photography breathes life into our stories. Candid photos should be presented in full colour and allow us to showcase the authenticity at the heart of our brand.

Focus on the people
Keep expressive faces in focus and allow the backgrounds and foregrounds to be a little blurry. This is also known as shallow depth of field, and it draws attention to the person or people we want to highlight.
Brand Resource Library
Our searchable library of tools and templates includes logo, templates, photography and video files.
General photography guidelines
Photos capture the vibrant spirit of the McMaster community. They breathe life into our stories, reflect our community and create a human connection with our audience.
Here are some helpful tips to consider when taking a photograph:
- Focus on the person: To focus on the person in photograph our photos use a technique called shallow depth of field. This shooting technique draws the viewer’s attention to a person that is in focus while everything else is blurry.
- Authenticity is key: Candid, genuine moments make for great photos. Having people look forward rather than directly at the camera and avoiding staged smiles can go a long way to achieving this authentic feel.
- Keep it on-brand: Props, clothes and backgrounds can all be used to introduce McMaster’s primary brand colour, Heritage Maroon.
- Full colour, full impact: As part of the brand’s evolution, McMaster’s photos will appear in full colour, never treated with a duotone effect. When photos appear in graphic design layouts, they can be large and run to the edge of the screen or page, which graphic designers refer to as full-bleed.
- Neutral space for text: When the plan is to place text over the image, plan to have a neutral background space adjacent to the people in the photo. This is especially important for photographs that a graphic designer will later use to create professional marketing material.
Technical Tips
Visual storytelling helps our stories come to life.
There’s a lot to know about photography. This section will help you differentiate between portraits, headshots, editorial photography and social media photography, and will provide you with best practices for each photographic style.
Expandable List
A headshot is more than just a photo on LinkedIn. It refers to a staged close-up photography style of an individual’s head and shoulders. These photos are typically used for branding, marketing and market visibility.
Here are some tips to keep in mind when shooting headshots.
- Focus on the people
Headshots are all about the people. Since they’re aware of the camera, do your best to make sure their expression is approachable, confident and inviting. Including their shoulders in the shot also provides flexibility with how the photo can be used. - Keep it plain
Since we want to keep the focus on the person, the best backgrounds for a headshot are simple and plain. Walls or a seamless neutral or white backdrop work best. - Outline expectations
When inviting someone to have their headshot taken, outline expectations and best practices from the get-go. This will help the person ensure they’re well-prepared and ready for the best photo of their life.

Here’s a sample email that will help you set your photoshoot up for success:
“Please arrive wearing clothing appropriate for your position. Opt for mostly neutral colours, but feel free to add a splash of colour with a scarf or another accessory. Avoid sleeveless attire and white shirts unless you have a jacket or sweater for contrast. Ensure your outfit fits you well and is wrinkle-free. If you wear glasses, choose your least reflective pair for the session.”
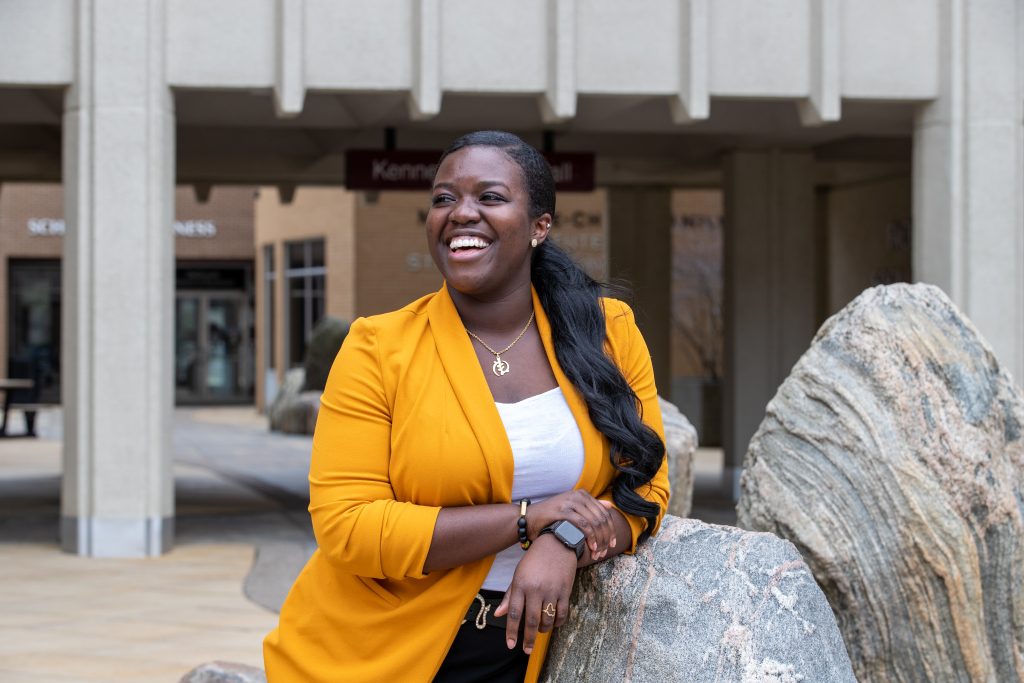
A ‘portrait’ is an artistic representation of a person that says something specific about the person and is framed in a way to elicit an emotional reaction in the audience. It can come in various forms, such as close-ups, three-quarters length, or full-body shots.
Here are some tips to keep in mind when shooting portraits.
Posing
Choosing the right pose can go a long way towards capturing the perfect portrait. You’ll want to avoid poses that make the person in the photo look stiff and rigid. In many cases, having them do something related to their work helps achieve an authentic action shot.
Location notes
A location can make or break a photo. Here are a few things to consider when choosing a location for your shoot.
Indoor photography
- Lighting the way: Indoor studio spaces offer greater control over lighting and the environment.
- It’s all about the person: The person’s face should be well-lit with soft, pleasing light.
- Keep it clean: Be sure to tidy up the location beforehand and plan for extra time when lighting needs to be set up.
Outdoor photography
- Lighting is key: Optimal outdoor photographs are often captured under soft, natural lighting, with cloudy but bright days offering ideal conditions.
- Time management: Daytime sunlight can create strong shadows on the face, so try to find a shaded spot that provides even lighting without being too dim.
- It’s all about the person: Remember, people are the heart and soul of our brand. Busy backgrounds can take the focus away from the person at the heart of the photo, so be sure to select an appropriate location.
- Tools of the trade: If possible, use a reflector when needed to ensure even lighting on the subject’s face, enhancing their natural features without altering their appearance.
Space considerations
- When photographing indoors, choose a spacious room with high ceilings to accommodate your equipment. Low-hanging light fixtures or projects can be difficult to deal with, so be sure to avoid them as well.
- White walls and ceilings are easiest to work with as they can help reflect or bounce the light back.
- Ensure the room’s lights can be turned off to prevent any interference with the photographer’s lighting, as sometimes pot lights and fluorescent lights can overpower the photographer’s flash.
- The room should contain movable furniture that is contemporary, aesthetic, and simple, which could be used in environmental portraits.
- Plenty of large windows on different sides of the room are also beneficial, as they allow the photographer to use natural, available light alone or in combination with flash lighting.
- If spaces allows, having a space separate from the rest of the office, classroom or lab space where others are working can help people feel more comfortable in front of a camera.
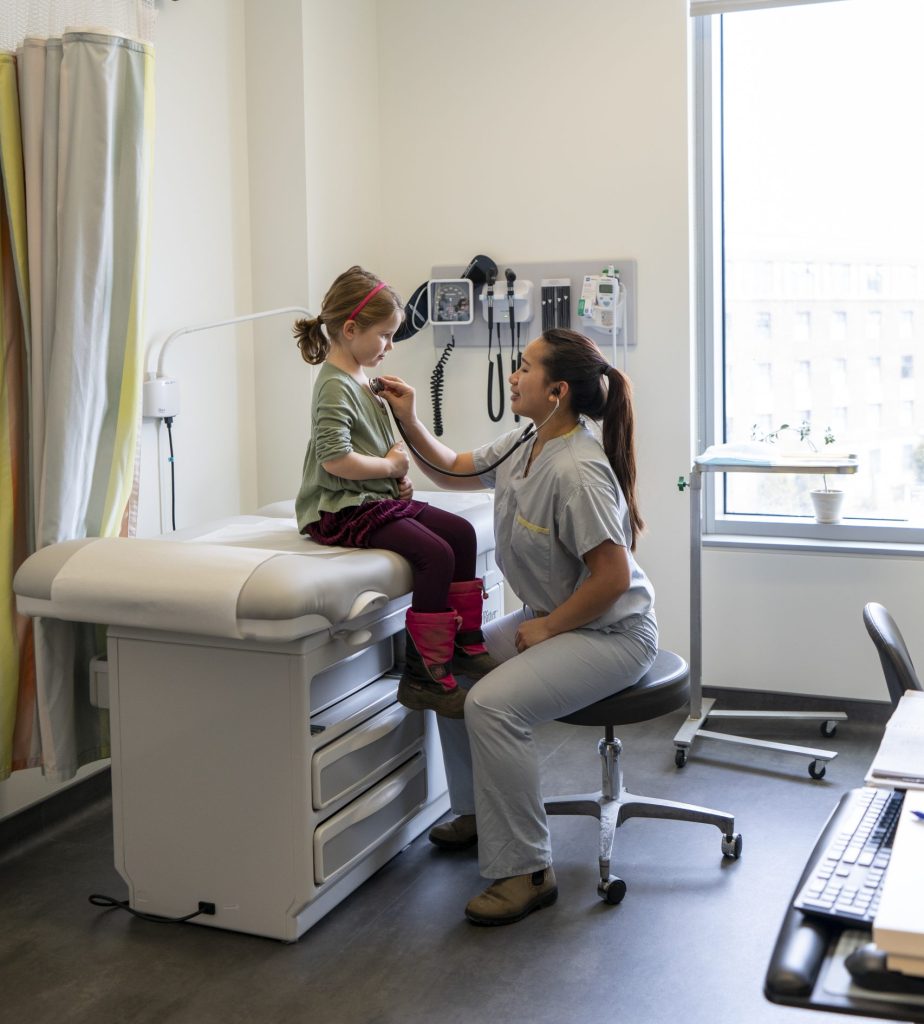
The right photo can make any story come to life, and editorial photography can take a story from good to great. Editorial photography is often used in newspapers, magazines or websites to accompany articles and enhance storytelling. Here are some tips to help you capture the best photos to add to your story:
Keep it authentic
Authenticity is the key to capturing a great editorial photo. This can be achieved by placing the person being photographed in an environment that is true to both them and their story and having them do something in the photo.
Location notes
Here are some location tips to consider when taking an editorial style photo:
Indoor photography: Labs and campus spaces
- Choosing rooms with natural light over those lit by fluorescent or pot lights is beneficial, as natural light typically results in higher-quality photos.
- High-ceilinged locations with plenty of space for people to move around can facilitate more flexible and varied shot compositions.
- Placing the person in a spot that is true to them can make a world of difference. Try your best to ensure the location provides an authentic and accurate look into people’s place of work or study.
Outdoor photography
- Lighting is key: Optimal outdoor photographs are often captured under soft, natural lighting, with cloudy but bright days offering ideal conditions.
- Time management: Daytime sunlight can cast harsh, unflattering shadows on the face so try to find a shady spot that is not overly dark or moody.
- It’s all about the person: Remember, people are the heart and soul of our brand. Busy backgrounds can take the focus away from the person at the heart of your photo, so be sure to select an appropriate location.
- Tools of the trade: If possible, use a reflector to brighten their eyes, minimize shadows and remove shade under their eyes.
Photos help bring social media content to life. If you don’t have access to professional photography equipment, your phone can be a great alternative, especially for social media content.
Here are some tips for successful phone photography:
- Look for candid moments where people are interacting or expressing their emotions
- Use “portrait mode” (or equivalent) to create images with a shallow depth of field when possible. This effect keeps the person’s face in focus while blurring the background.
- Maintain image quality by not cropping the photo too much and keep the image authentic by not altering the photo significantly using apps or filters.
- Follow the general photography guidelines about lighting, posing and colour for the best possible results.
Please keep in mind that phone photography should not be used for print materials.
For more information about posting to social media, please refer to our Social Media Brand Guidelines.
Project Planning
The key to an excellent photoshoot is proper planning. Here are some best practices for you to do before, during and after the shoot.
When organizing a photography project at McMaster University, the following steps can help ensure success:
- Identify the objective of the project – what is the story you aim to tell, and what elements need inclusion to do so effectively?
- Select a suitable location. This might be a studio for a headshot, an event locale, a student club, a classroom or a lab for showcasing research activities. Choose a place with natural light if possible. When that is not possible, ensure adequate indoor light is available. The chosen space should authentically represent McMaster University. The location should also be accessible, safe and comfortable for the individual being photographed. Ask the individual if the proposed location is okay for them. If it is not, work with them to find a suitable location.
- Before shooting, inform the people about what they will be doing and wearing during the session.
- During the shoot, particularly in a lab, medical, or construction environment, ensure every safety protocol is followed, including the use of required PPE.
- Try to capture a variety of images, bearing in mind the brand style of shallow depth of field.
Expandable List
- Location scouting: Before you start your shoot, it’s important to scout the location at the same time of day that you’ll be shooting. Be sure to pay attention to lighting conditions, obstacles, construction, barriers to accessibility or other factors that could affect the shoot.
- Have a game plan: Come prepared with a specific shot list. This can go a long way to creating a seamless, efficient photoshoot.
- Brand it: If possible, plan to incorporate McMaster’s Heritage Maroon colour or logos into your shots in a way that feels authentic to the environment.
- Prepare the people: To maintain an authentic feel, people should be dressed appropriately. Neutral tones and well-fitted clothing work best, so we suggest avoiding excessively patterned, all-white or all-black clothing, as well as clothing that is ripped, torn or wrinkled.
- Gain approval: Remember to obtain signed consent from everyone in the photo or video when conducting the shoot. If anyone involved in your shoot is under 18, they must have their parent or guardian’s permission. You can find the necessary forms here.
- Event photography: If you’re shooting a large campus event, you must post signs notifying attendees that they may be included in your photos or videos. An example of such a sign can be found here. To ensure accessibility, inform attendees ahead of time on websites or event tickets, or have the moderator of the event announce it.
- Have fun!: The more fun you have on set, the more comfortable people will be on camera, helping you achieve that authentic, candid feeling we’re going for.
- Diversity: As you work through your shot list, ensure each image thoughtfully represents individuality and avoids stereotypes. Ensure that photography practices are sensitive to the cultural, physical and personal attributes of the subjects, and seek their input on how they wish to be depicted.
- Privacy: Ensure privacy and enhance physical accessibility by providing designated spaces for outfit changes and touch-ups, along with restroom facilities that are accessible to individuals of all genders and are designed to accommodate a wide range of physical needs.
- Easy access: Once your shoot is over, the best practice is to use a platform like Adobe Lightroom for keywording and properly archiving your files.
- Keep it true to the people: Ensure your editing involves proper colour balancing and accurate representation of skin tones. Retouching can be a helpful tool for making your image easier to interpret, but it’s important not to make any changes that distort an image’s true representation of a person.
DO:
- Take photos from various angles and viewpoints: This technique can go a long way to capturing dynamic, varied images.
- Use different lenses for the same event: This choice helps produce a variety of shots for you to choose from later.
- Capture moments of actions: These types of photos make the viewer feel involved and goes a long way to achieving the authenticity we’re looking for.
DON’T:
- Take unflattering photos: Photos of people eating or building shot in high-contrast times of the day are some examples to avoid.
- Go off-brand: Overly angled images, isolated people, overly stylized photographs or abstract imagery aren’t considered on-brand and should be avoided where possible.
Consent forms, called a Model Consent Form on the Brand Resource Library, should be available for signing to ensure proper commercial usage and publication. Consent forms can be downloaded from the Brand Resource Library. Getting permission from people in photographs that will be used in advertisements is required. Freelancers must contact the CMPA Visual Team to seek guidance before on campus photoshoots by emailing visualteam@mcmaster.ca.
Freelancers creating brand elements for McMaster University should adhere to these guidelines. Reach out to photographer@mcmaster.ca for any questions about photography elements and adherence to safety procedures.
Filming and photography on campus
Preparing a shot list and securing permissions for specific locations is crucial. For instance, shooting inside a lab requires permission from the lab manager and researcher, while outdoor campus shoots may require security clearance. Should you require the use of a drone on campus, please ensure to reach out to the CMPA Visual Team at visualteam@mcmaster.ca prior to commissioning a freelancer.
